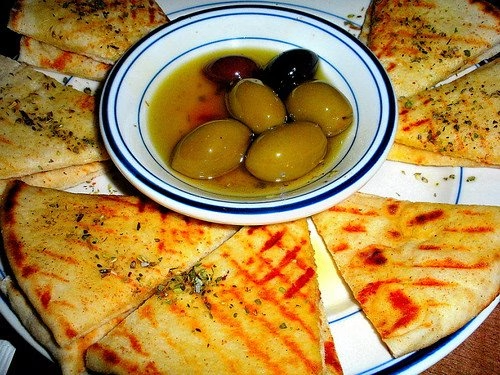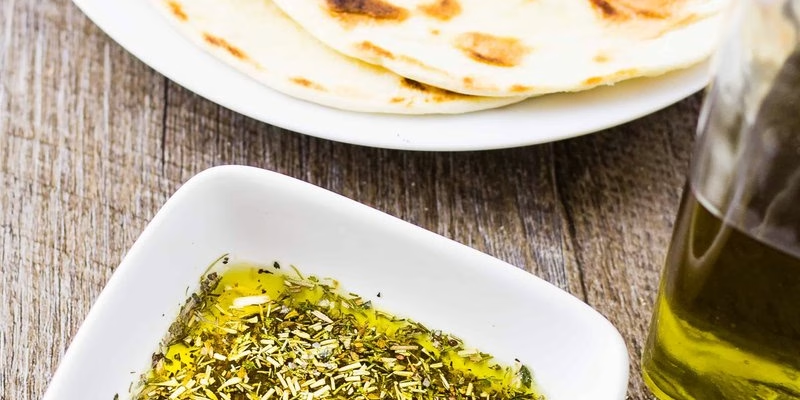
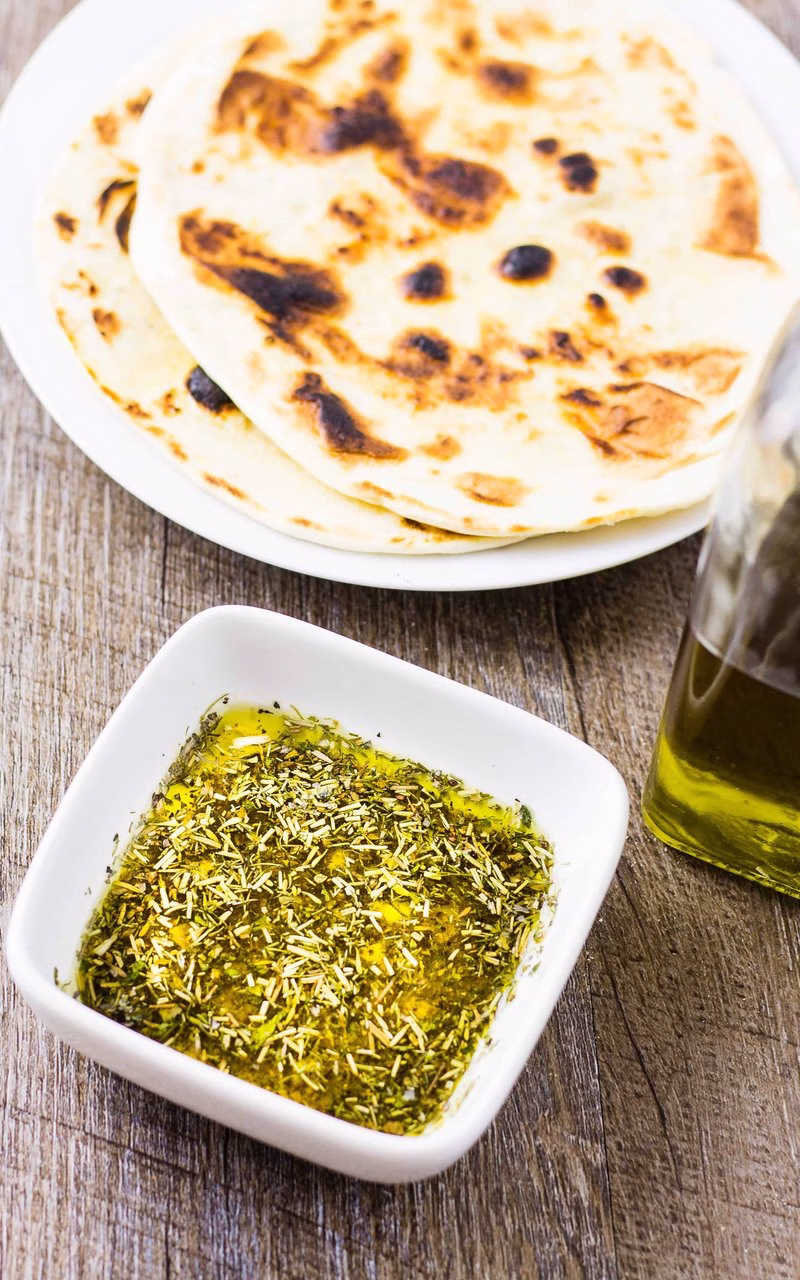
Are you ready to embark on a culinary journey to Greece? Greek Pita With Olive Oil is a staple that brings together the essence of Mediterranean flavors. This simple yet mouthwatering dish combines warm, fluffy pita bread with aromatic olive oil, often enhanced by herbs and spices. Originating from the sun-kissed landscapes of Greece, this pita is not only a staple in Greek cuisine but also a popular choice among food lovers worldwide. Today, you’ll learn how to make Greek Pita With Olive Oil at home, explore ingredient variations, and dive into some interesting culinary tips.
In this article, we will cover everything from the *Greek Pita With Olive Oil ingredients* you’ll need to the step-by-step process of creating this dish. By the end, you’ll be able to impress your friends and family with the best Greek Pita With Olive Oil recipe they’ve ever tasted!
Ingredients
| Ingredient | Measurement | Description |
|---|---|---|
| All-Purpose Flour | 2 cups | Provides the base for our pita; opt for high-quality flour for best results. |
| Warm Water | 3/4 cup | Activates the yeast for a perfect rise in the pita. |
| Yeast | 1 packet (about 2 1/4 tsp) | Essential for fluffiness; fresh yeast works wonders. |
| Olive Oil | 1/4 cup + extra for brushing | A key flavor component that enhances the aroma of the Greek Pita With Olive Oil. |
| Salt | 1 tsp | Boosts flavors, essential for any dough. |
| Za’atar (or other herbs) | 1 tbsp | Optional, but adds an authentic touch of Greek flavor to your dish. |
Step-by-Step Instructions
- Step 1: Prepare the Dough – In a large mixing bowl, combine warm water and yeast. Let it sit for about 5 minutes until it becomes frothy. Add in the olive oil, salt, and flour gradually, mixing until a dough forms.
- Step 2: Knead the Dough – Transfer the dough onto a floured surface and knead for about 10 minutes until smooth and elastic. This step is crucial for the texture of your Greek Pita With Olive Oil!
- Step 3: Let It Rise – Place the dough in a greased bowl, cover it with a damp cloth, and let it rise for about an hour or until it doubles in size. This slow fermentation adds flavor to your pita.
- Step 4: Shape the Pita – Once risen, punch down the dough and divide it into 6 equal pieces. Roll each piece into a ball and then flatten them into discs about 1/4 inch thick.
- Step 5: Cook the Pita – Heat a skillet or griddle over medium heat. Cook each disc for about 2-3 minutes per side or until puffed and lightly golden. Brush with extra olive oil and sprinkle with za’atar if you like.
- Step 6: Serve & Enjoy – Serve warm alongside dips like hummus or tzatziki for a delightful Greek Pita With Olive Oil experience.
Pro Tips
- Use fresh ingredients: Always opt for fresh herbs and high-quality olive oil for the best flavor.
- Adjust thickness: If you prefer thicker pita, don’t flatten them too much.
- Experiment with flavors: Try adding spices like cumin or coriander to the dough for a unique twist.
- Store leftovers properly: Keep any extra pita in an airtight container to maintain freshness.
Nutritional Information
| Nutrient | Per Serving (1 pita) |
|---|---|
| Calories | 180 |
| Protein | 5g |
| Carbohydrates | 30g |
| Saturated Fat | 1.5g |
| Fiber | 1g |
| Cholesterol | 0mg |
| Sugars | 0g |
| Total Fat | 5g |
FAQs
What is the best way to store Greek Pita With Olive Oil?
To store Greek Pita, keep them in an airtight container at room temperature for up to 3 days. For longer storage, freeze them in a sealed bag.
Can Greek Pita With Olive Oil be made vegan or gluten-free?
Yes, you can use gluten-free flour for a gluten-free version, and omit olive oil or use vegetable oil for a vegan option.
What are the best side dishes to serve with Greek Pita With Olive Oil?
Pair your Greek Pita With Olive Oil with sides like hummus, tzatziki sauce, or a fresh Greek salad for a complete meal!
How long does it take to prepare Greek Pita With Olive Oil?
Preparation and cooking time is approximately 1.5 hours, including the rising time for the dough.
Can I freeze Greek Pita With Olive Oil for later?
Absolutely! Freeze the cooked pitas wrapped in plastic wrap. They can last up to 3 months in the freezer.
How can I make my Greek Pita more flavorful?
Add spices to the dough, brush with flavored olive oil, or garnish with fresh herbs after cooking to enhance the flavor.
Is homemade Greek Pita healthier than store-bought?
Homemade Greek Pita With Olive Oil allows you to control the ingredients and seasonings, making them a healthier option than many store-bought versions.
Can I grill Greek Pita With Olive Oil?
Yes! Grilling can give your pitas a delicious smoky flavor. Just be sure to keep an eye on them to avoid burning.
Making Greek Pita With Olive Oil at home is a rewarding experience that fills your kitchen with delightful aromas and flavors. With this simple recipe, you can enjoy a fresh and delicious treat perfect for any occasion. So why not give it a try? Your taste buds will thank you! And hey, if you make this Greek Pita With Olive Oil, I’d love to hear how it turned out—drop your thoughts in the comments!