Introduction
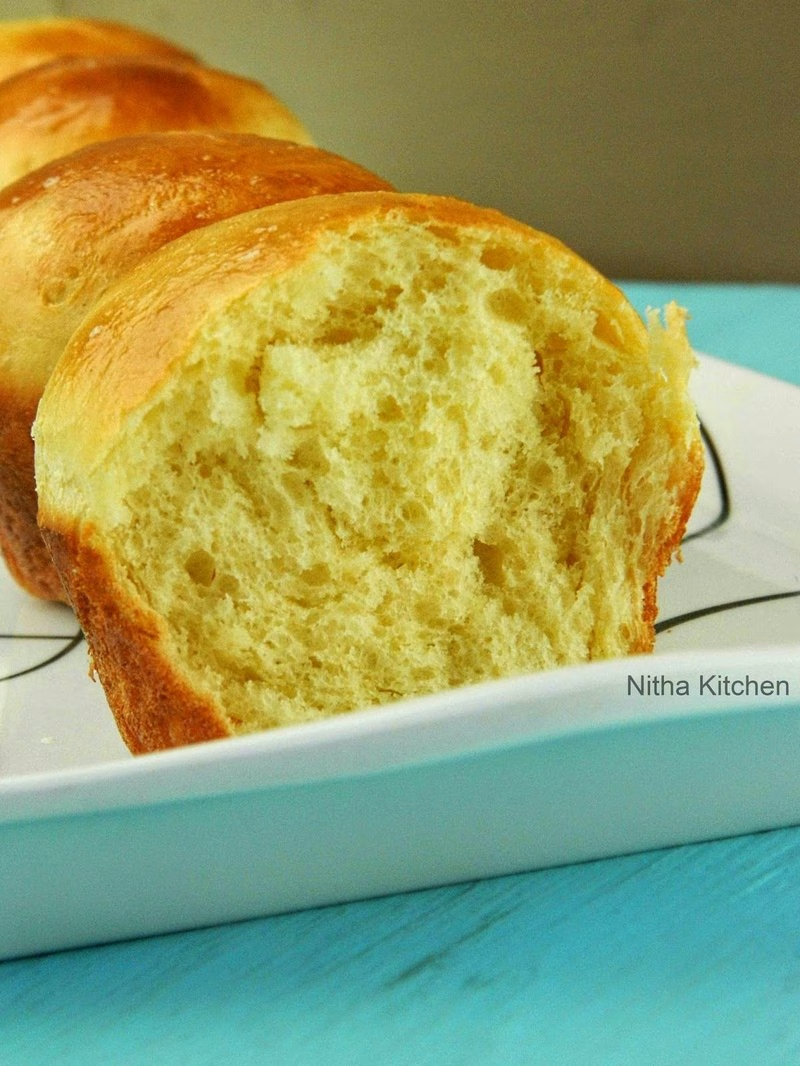
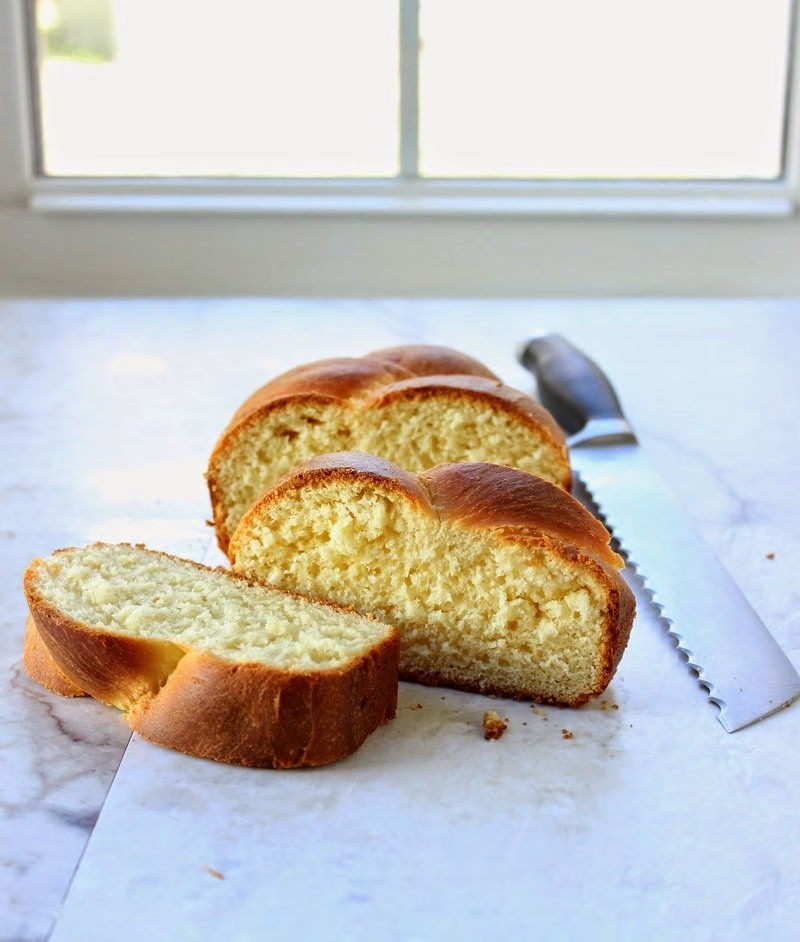
Have you ever tasted a bread that feels like a warm hug? Enter the world of **Orange Blossom Brioche**! This delightful treat combines the rich, buttery flavor of traditional brioche with the delicate, floral notes of orange blossom. Originating from France, brioche has long been a staple in bakeries, and adding orange blossom water elevates it to a whole new level of aromatic bliss. In this article, you’ll learn not only how to make Orange Blossom Brioche at home but also discover variations, perfect pairings, and tips to elevate your baking game. So, whether you’re hosting a brunch or just treating yourself, this recipe will surely impress!
Ingredients
Here’s everything you need to whip up your very own Orange Blossom Brioche. Each ingredient plays its part in creating that exquisite taste and texture that will leave everyone asking for seconds.
| Ingredient | Measurement | Description |
|---|---|---|
| All-purpose flour | 4 cups | High-quality flour gives the brioche its soft texture. |
| Active dry yeast | 2 ¼ tsp | This is the magic ingredient that helps the brioche rise. |
| Warm milk | ½ cup | The warmth activates the yeast for that perfect rise. |
| Granulated sugar | ¼ cup | Sweetens the dough and helps with browning. |
| Butter | ½ cup, softened | Rich, creamy butter provides flavor and moisture. |
| Eggs | 3 large | Eggs add richness and help bind the ingredients. |
| Orange blossom water | 2 tbsp | This fragrant water infuses the brioche with a unique floral flavor. |
| Salt | 1 tsp | Enhances the overall flavor of the brioche. |
Step-by-Step Instructions
Making **Orange Blossom Brioche** at home might sound daunting, but it’s simpler than you think! Follow these steps to create your own fluffy masterpiece:
- Prepare the Ingredients – Start by measuring out all your ingredients. This ensures that you have everything ready to go, making the process smoother. It’s like prepping for a great adventure!
- Activate the Yeast – In a small bowl, combine warm milk with sugar and yeast. Let it sit for about 5-10 minutes until it’s foamy. This means your yeast is alive and kicking, which is exactly what you want for your brioche.
- Mix the Dough – In a large mixing bowl, combine the flour and salt. Pour in the yeast mixture, melted butter, and eggs, and mix until it forms a shaggy dough. The dough will feel sticky; that’s okay, it just means you’re on the right track!
- Knead the Dough – Transfer the dough to a floured surface. Knead for about 8-10 minutes until it becomes smooth and elastic. This step is crucial for developing the gluten, which gives your brioche its lovely texture.
- Let It Rise – Place the dough in a greased bowl, cover it with a kitchen towel, and let it rise in a warm place for about 1 hour or until it doubles in size. This is where the magic happens!
- Shape the Brioche – After the dough has risen, punch it down gently to release the air. Divide the dough into smaller portions (depending on the size of bread you want) and shape them into balls or braids. Place them in a greased baking dish.
- Second Rise – Cover the shaped dough and let it rise again for about 30 minutes. This gives it that light, airy texture that you just can’t resist.
- Bake the Brioche – Preheat your oven to 350°F (175°C). Bake the brioche for 25-30 minutes, or until golden brown. The aroma of baking brioche with hints of orange blossom will fill your kitchen!
- Cool and Serve – Once baked, let it cool on a wire rack. Slice and enjoy your delicious Orange Blossom Brioche warm or toasted, perhaps with a spread of butter or jam.
Pro Tips
– **Use Fresh Ingredients**: Always use fresh yeast and quality flour. It makes a big difference in taste and texture.
– **Knead Well**: Don’t rush the kneading process. Properly kneaded dough will yield a fluffy brioche.
– **Experiment with Flavors**: Try adding citrus zest or nuts for a unique twist to your Orange Blossom Brioche.
– **Timing is Key**: Keep an eye on the rising times; they can vary based on your kitchen’s temperature.
– **Storage**: Store leftover brioche in an airtight container to maintain its freshness. It’s great for French toast the next day!
Nutritional Information
Here’s how your **Orange Blossom Brioche** stacks up nutritionally per serving (based on 12 servings):
| Nutrient | Amount |
|---|---|
| Calories | 210 |
| Protein | 5g |
| Carbohydrates | 32g |
| Saturated Fats | 3g |
| Fiber | 1g |
| Cholesterol | 50mg |
| Sugars | 5g |
| Total Fat | 8g |
FAQs
What is the best way to store Orange Blossom Brioche?
Store it in an airtight container at room temperature for up to two days or freeze for longer shelf life.
Can Orange Blossom Brioche be made vegan or gluten-free?
Yes! You can substitute eggs with mashed bananas or flaxseed meal, and use gluten-free flour blends for a gluten-free version.
What are the best side dishes to serve with Orange Blossom Brioche?
Pair it with fresh fruit, yogurt, or a light salad for a delightful brunch spread.
How long does it take to prepare Orange Blossom Brioche?
Including rising times, it takes about 3 hours from start to finish. But trust me, it’s worth the wait!
Can I freeze Orange Blossom Brioche for later?
Absolutely! Just cool it completely, then wrap it in plastic wrap and aluminum foil before freezing.
Can I use orange extract instead of orange blossom water?
Yes, but the flavor will differ. Orange blossom water has a floral note that’s unique and can’t be fully replicated with extract.
How can I tell when the brioche is fully baked?
It’s done when it has a golden-brown color and sounds hollow when tapped on the bottom.
What can I do with leftover Orange Blossom Brioche?
Turn it into French toast, bread pudding, or simply enjoy it toasted with a spread of your choice!
There you have it! A comprehensive guide to making your very own **Orange Blossom Brioche** at home. With its delightful aroma and soft texture, this brioche is perfect for any occasion, from breakfasts to afternoon tea. So why not roll up your sleeves and give this recipe a try? You might just find it becomes a favorite in your household. If you try this Orange Blossom Brioche recipe, let us know your experience in the comments below! Happy baking!


