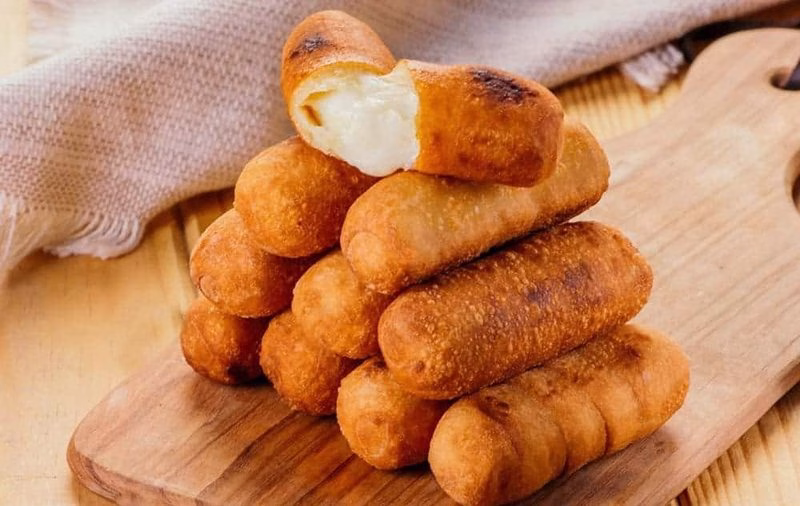
If you haven’t yet tasted Tequeños (Cheese Sticks), you’re missing out on a culinary gem! These golden-fried delights originated in Venezuela and have become an absolute favorite in Latin American cuisine. Imagine warm, gooey cheese encased in a crispy, delicate dough – it’s no wonder they’re often served at parties, celebrations, and even casual family gatherings. They’re the perfect snack or appetizer that blends comfort with a delightful crunch.
In this article, you’ll learn everything about making Tequeños (Cheese Sticks) right in your kitchen. From the authentic ingredients that give these cheese sticks their characteristic flavor to a step-by-step guide on how to prepare them, I’ve got you covered. Plus, we’ll explore different Tequeños (Cheese Sticks) variations and some useful tips to elevate your homemade experience. Let’s dive into the cheesy goodness!
Ingredients
| Ingredient | Measurement | Description |
|---|---|---|
| All-purpose flour | 2 cups | This is the base for our dough, providing structure and crunch to our Tequeños. |
| Warm water | ¾ cup | Helps to hydrate the flour and form a soft, pliable dough essential for wrapping. |
| Salt | 1 tsp | A pinch of salt enhances the flavor in the dough and complements the cheese. |
| Oil (for frying) | For frying | Oil is key to achieving that golden-brown crispiness we all crave in Tequeños. |
| Creamy cheese (Queso Blanco or mozzarella) | 8 oz | This melty goodness is the star of Tequeños, giving them their signature stretch. |
| Egg (optional) | 1 | Beaten, for brushing the dough to achieve an extra crispy texture. |
Step-by-Step Instructions
- Prepare the Dough: In a large bowl, mix the all-purpose flour with salt. Slowly add warm water, mixing until a dough forms. Knead it on a clean surface for about 5-10 minutes until it’s smooth and elastic. Cover it with a towel and let it rest for 30 minutes.
- Make the Cheese Filling: While the dough is resting, cut your cheese into strips, about the size of your pinky finger. If you’re feeling adventurous, you can mix different cheeses like mozzarella and queso blanco for varied flavor and melting qualities.
- Roll Out the Dough: Once rested, divide the dough into equal portions and roll each into a thin oval, about ¼ inch thick. Try to make them as uniform as possible; this helps with even cooking.
- Wrap the Cheese: Place a cheese strip at one end of the dough oval and roll it tightly, like wrapping a gift. Make sure to seal the edges well to avoid any gooey cheese escaping during frying. You can use a bit of water to help seal the edges together.
- Fry the Tequeños: Heat oil in a deep pan to about 350°F (175°C). Carefully drop a few Tequeños in, frying them in batches to prevent overcrowding. Fry until golden brown on all sides, approximately 4-5 minutes. Remove them and drain on paper towels.
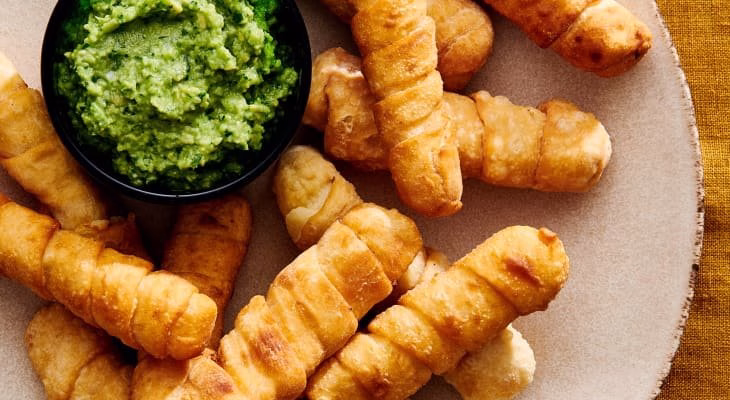
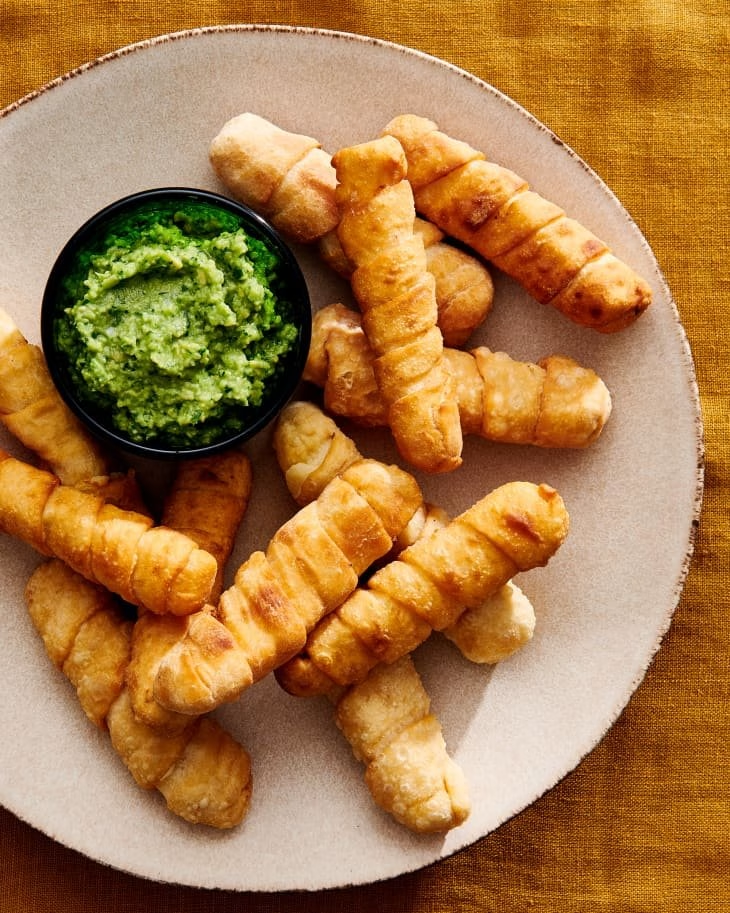
- Serve and Enjoy: Allow the Tequeños (Cheese Sticks) to cool slightly and serve warm. They pair perfectly with Tequeños (Cheese Sticks) sauce like guacamole or a spicy salsa. Enjoy!
Pro Tips
- Experiment with Cheese: Don’t hesitate to try different cheeses or combinations, especially if you love a bit of flavor surprise!
- Chill before Frying: For better results, let your wrapped Tequeños chill in the refrigerator for 15-20 minutes before frying. This helps them hold their shape.
- Test Oil Temperature: Drop a small piece of dough into the oil; if it sizzles, it’s ready! If it browns too quickly, the oil is too hot.
- Make Ahead: You can prepare the dough and filling ahead, allowing you to make them fresh when guests arrive.
- Pair with Dips: Different sauces can change the whole experience – try them with honey, sweet chili sauce, or even a spicy mayo!
Nutritional Information
| Nutrient | Per Serving |
|---|---|
| Calories | 220 |
| Protein | 8g |
| Carbohydrates | 26g |
| Saturated Fats | 6g |
| Fiber | 1g |
| Cholesterol | 30mg |
| Sugars | 1g |
| Fat | 12g |
FAQs
What is the best way to store Tequeños (Cheese Sticks)?
To store leftover Tequeños (Cheese Sticks), let them cool completely, then place them in an airtight container in the refrigerator for up to 3 days. For longer storage, freeze them in a single layer before transferring them to a freezer bag. They can last up to 2 months in the freezer.
Can Tequeños (Cheese Sticks) be made vegan or gluten-free?
Absolutely! For vegan Tequeños, use a plant-based cheese and substitute the all-purpose flour with a gluten-free blend. Just ensure the other ingredients are also vegan-friendly.
What are the best side dishes to serve with Tequeños (Cheese Sticks)?
These versatile snacks pair beautifully with side dishes like fresh salad, fried plantains, or dipping sauces like homemade guacamole or chimichurri.
How long does it take to prepare Tequeños (Cheese Sticks)?
The total preparation time is around 1 hour, including 30 minutes of resting time for the dough. The actual cooking time only takes about 20 minutes.
Can I freeze Tequeños (Cheese Sticks) for later?
Yes! You can freeze Tequeños (Cheese Sticks). Just prepare them as usual, flash freeze them on a baking sheet, and once frozen, transfer to a freezer bag. When ready to eat, you can fry them straight from the freezer!
Can I bake Tequeños (Cheese Sticks) instead of frying them?
While frying is the traditional method, you can bake them for a healthier version. Preheat the oven to 400°F (200°C), brush the Tequeños with some oil, and bake for about 20-25 minutes or until golden and crispy.
What cheese is best for Tequeños (Cheese Sticks)?
For the best results, use a creamy cheese like mozzarella or queso blanco. These options melt beautifully and offer the perfect gooey texture that makes Tequeños irresistible.
Can I add spices to the dough for more flavor?
Absolutely! Adding spices like garlic powder, paprika, or even some herbs to the dough can enhance the flavor and make your Tequeños (Cheese Sticks) even more delicious.
In conclusion, making Tequeños (Cheese Sticks) at home is a rewarding experience filled with the deliciousness of warm cheese and crispy dough. With the right ingredients and simple steps, you can impress your family and friends with these delectable treats. So, gather your ingredients and dive into the cheesy goodness of Tequeños!
Tried this Tequeños (Cheese Sticks) recipe? Let us know your experience in the comments below! Your feedback is always appreciated, and I can’t wait to hear how your cheesy adventure goes!